
The development of anatomically accurate 3D models is an important component of healthcare simulation. At SIMU in Brno, collaboration with leading European universities led to the ACCEDE project, which refined techniques like CT segmentation, 3D scanning, and silicone molding. The project created realistic teaching tools through a structured five-stage pipeline. These efforts have culminated in a web portal for sharing 3D anatomical models, fostering innovation in education and simulation. Learn more and explore the shared resources at project webpage.
“Start at the top and work your way up” is one of Peter’s Laws that regularly sounds in my head. However, in the case of 3D printing at our simulation centre in Brno, SIMU, we felt this would not be the case. We started from the ground up and after about a year of printing holders, stands and small spare parts for simulators and trainers we felt we wanted to take our knowledge and skills significantly further. We wanted to learn how to print models based on real medical data: anatomically accurate models. And it was clear to us that we could not tackle something like this alone.
Cold winter, warm tea and lots of thoughts in our heads. We started looking for partners who would like to be part of our bold journey. Associate Professor Pavol Vitovič from Comenius University Bratislava and Marc Lazarovici from Ludwig Maximilian University of Munich accepted our invitation to join the project consortium. Thus, the Anatomically aCCuratE 3D modEls (ACCEDE) grant application was born. A call that was subsequently supported and thanks to which we learned the procedures that this article presents.The goal of our efforts was to learn how to create accurate 3D models of anatomical structures based on medical data. To develop this knowledge, we organized collaborative internal workshops during the year 2023. The three-day workshops were attended by approximately 15 technicians from the three participating universities and were held successively in Brno, Bratislava and Munich. Our face-to-face meetings resulted in the exchange of experiences, skills, trialing new technologies and, most importantly, agreeing on a common course of action.
The comprehensive pipeline for developing anatomical 3d models
At the beginning of the project, we assumed that the main source of anatomically accurate data would be medical imaging, such as computer tomography (CT). However, during the course of the implementation, we discovered the magic of 3D scanning, which is a convenient way to obtain very accurate 3D models from objects that are tangibly available in our hands.
We also extended our 3D model-making efforts during the course of the project by creating products using silicone moulding. The reason for this step is obvious: silicone moulding is a technique to create soft models. It is the most common technique for creating teaching equipment and trainers in the healthcare simulation.
And this has already given rise to a rather complex process we call the pipeline. The creation of each 3D model goes through some specific states. Each individual state involves different people, different technologies, and the end result takes a different form.
In a simplified way, it could be described in 5 stages:
- Obtaining raw data
- Processing the data
- Printing and fabrication
- Verification of the product
- Publication and utilization
At the very beginning, we need to have a clear idea of what exactly we want to model, where to get the necessary data, who our collaborating clinical expert in the field will be (if it’s not ourselves), what materials we will use for making it, and most importantly, what the model will be used for. Will it be a beautiful pearlescent dark green brain that will clutter up our office, or a teaching gadget to be cut and stitched, for example?

The 5-Step process for accurate 3D model creation
1. Obtaining raw data
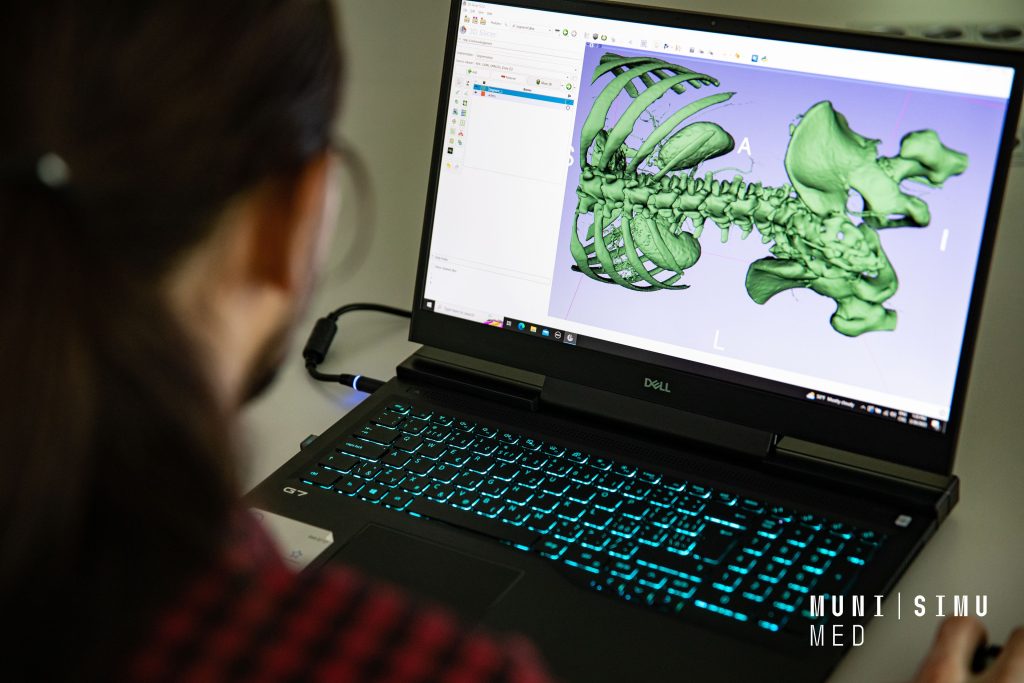
During the project, we used several techniques to obtain the raw data for the 3D model. The most common approach is CT segmentation. It is a process of handling radiological images and by separating individual contrast segments, 3D models are sculpted. It is the most widely used procedure in clinical medicine. This technique can be used to obtain models of many anatomical structures, both normal and pathological. However, a major limitation is the contrast of the anatomical structures and also the accuracy of CT. The accuracy of most conventional CT scans is around a voxel size of 1 mm. Scans with accuracy higher than 1 mm are the exception or rather the specificity of selected examinations in routine practice. A voxel of 1 mm, unfortunately, is a relatively low accuracy, if you will, resolution and thus fidelity level for printed objects. The resulting models therefore suffer from some form of minor distortion and, for example, small structures are almost impossible to model from CT without the use of specialized medical software trained to do so.
However, what may prove to be a real constraint is access to such medical data concerning legislation and the protection of medical records. This is a topic that must not be neglected. Data needs to be processed anonymized and properly protected.
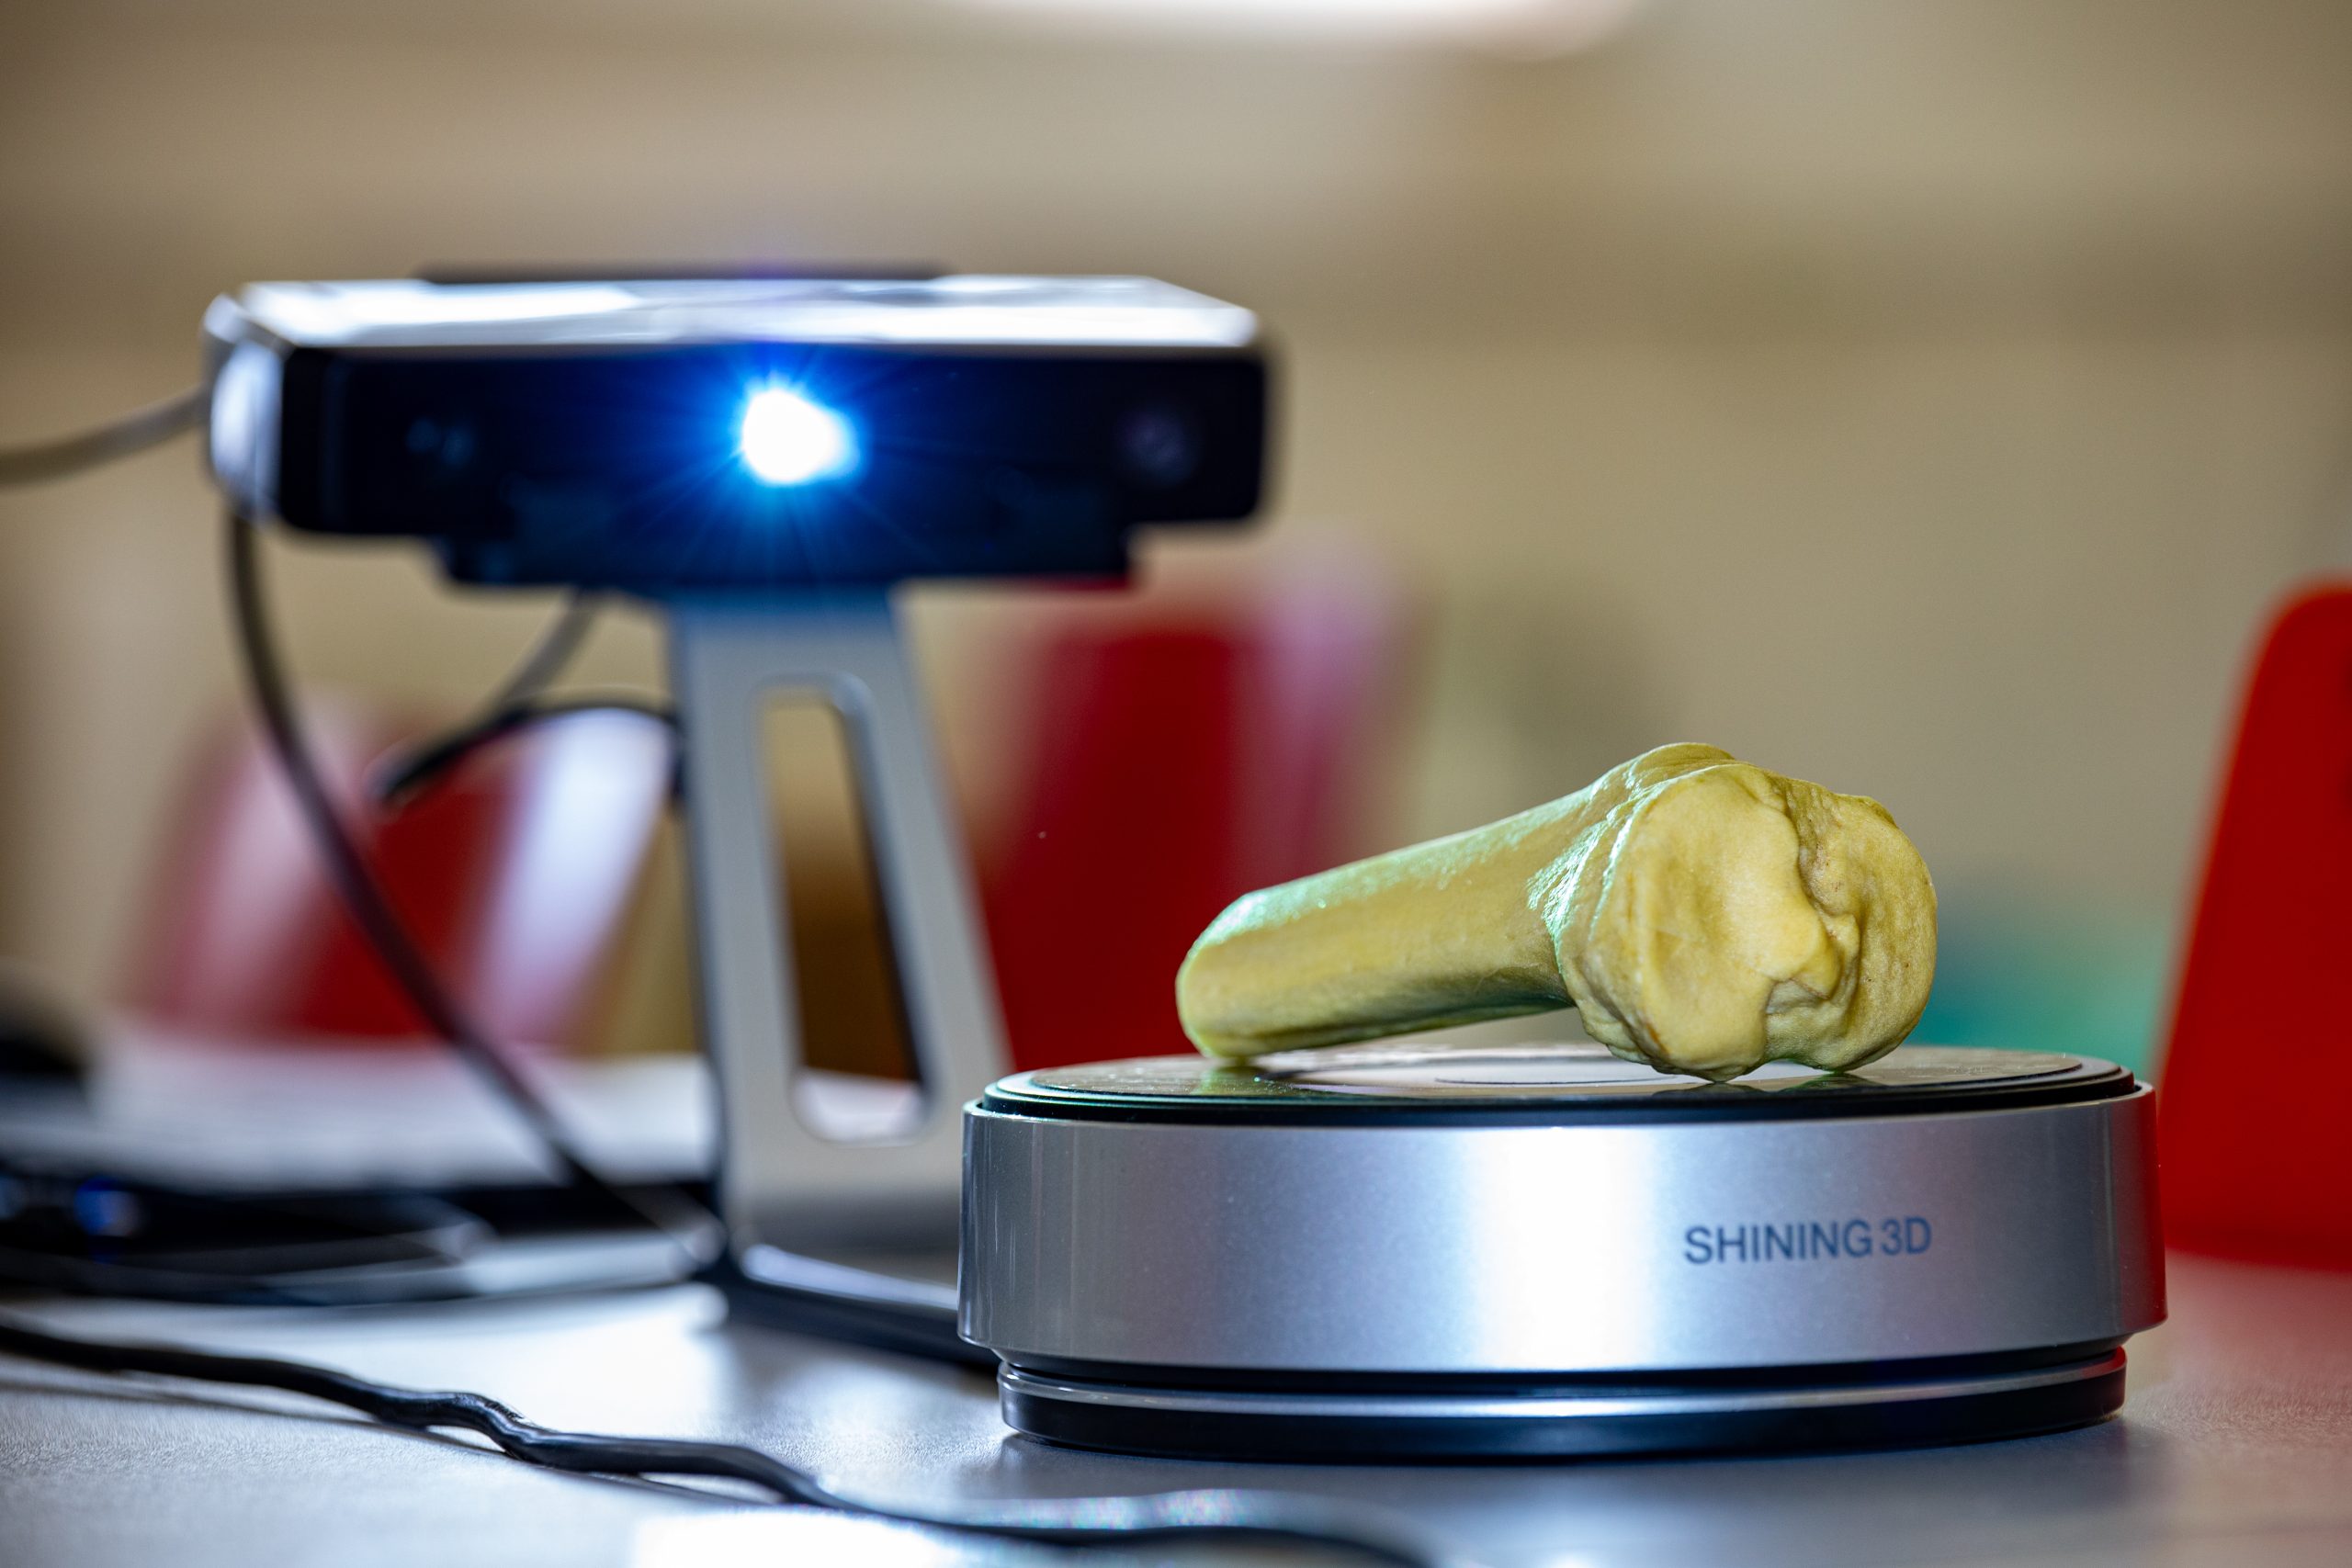
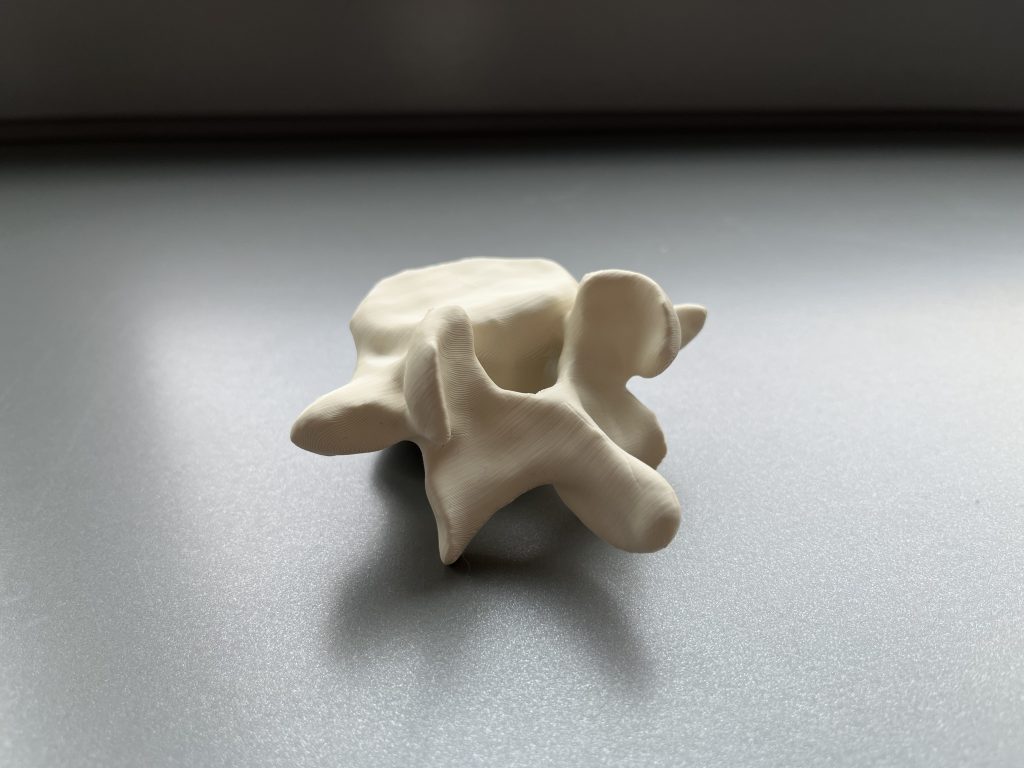
A second possible approach to obtain raw data is to use a 3D scanner. In this case, you are not being dependent on a radiology department, but rather a university anatomy department. The latter can often provide a large number of anatomical structures to be examined and subsequently scanned. The scanning process is particularly suitable for solid anatomical structures such as bones, but the more adventurous can certainly try others.
The scanners are characterized by very high accuracy. The one we used at SIMU can work with an accuracy of 0.05 mm. That seems to be 20 times more accurate than the average CT scanner. But remember, we’re operating in 3D space, so the accuracy is on average 8000 times higher than CT. The scanning process itself is, then, relatively simple thanks to the supplied specialized software. The object is placed on the scanning platter, which automatically rotates and the technician only has to intervene when positioning the model to the next scanning position. Additional guide dots or anti-reflective spray can be used to increase scanning accuracy.
2. Processing the data
The data obtained by segmentation and scanning are only rough input data. Each method faces specific artefacts that need to be resolved during post-processing.
Typical for segmentation are bubble anomalies in structures, voids in the middle of models that need to be removed for easier printing, and other inaccuracies that are removed using simple and classical tools and techniques.
Most of the artefacts that arise during scanning are removed by the technician using the specialized scanning software straight during the scanning of individual surfaces, or even by the software itself using automatic corrections. The 3D scanner produces a very accurate model, even with texture, but this sometimes requires additional tweaks. A typical example would be the elimination of auxiliary scan dots that have been used to increase the level of scanning accuracy.
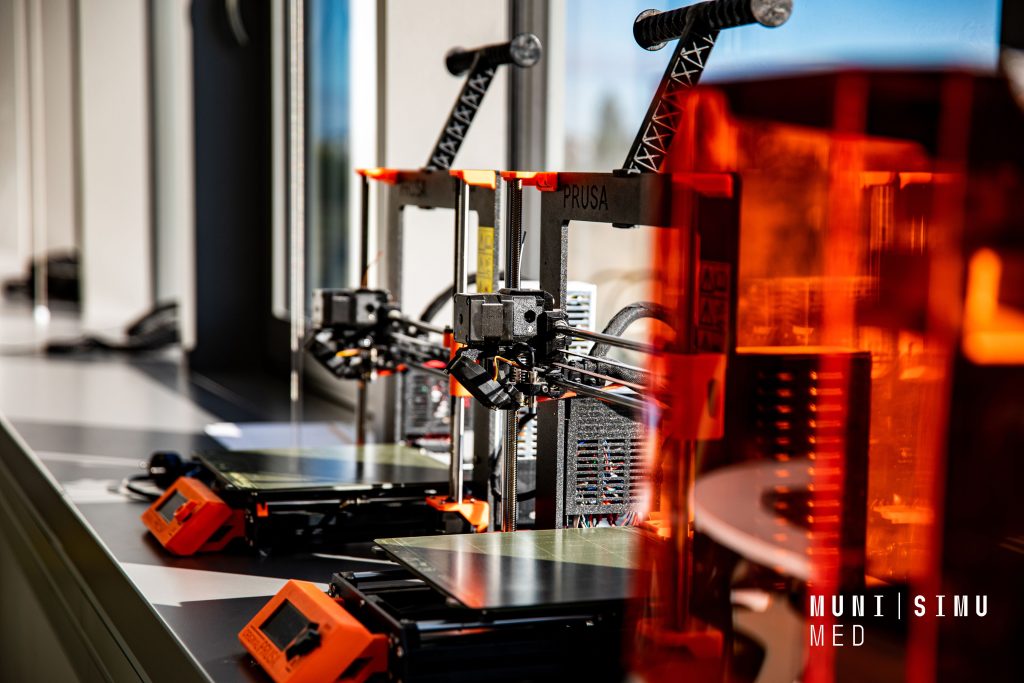
3. Printing and fabrication
3D printing is probably the most exciting part of the whole process, but counter-intuitively the easiest. Leaving aside the potential technical issues that can arise when 3D printing, the whole process consists of uploading the data to a USB drive, inserting it into the printer and pressing the print button. For the next few hours, you can watch enthusedly while your model is being created in front of your eyes.
The 3D printing itself is very precise, the material is applied in layers as small as 0.05mm. Many studies have shown that the accuracy of the print exceeds that of a CT and the printed model matches the digital master.
A more complex situation arises if we initially set out to create a model using silicone moulding. In this case, 3D printing will only be the first step for us. Two types of moulds can be used to create silicone moulds. For certain models, a hard mould is convenient and sufficient, but for some, it is necessary to use a soft mould, which is created by silicone moulding.

In the case of the first option, we use 3D printing to print the mould, which means that we have prepared an inversion of the model in the previous step – this is how the mould was created. The second option is a step more complex. In the beginning, we print the 3D model itself, according to it we cast the silicone mould and only then it is intended for casting the silicone variant of our final model.
4. Verification of the print
Verification can be considered a crucial part of the whole process. Many anatomical models are available on the internet, but its real accuracy remains a question. If the aim of the project was to create models suitable for teaching, their accuracy is crucial.
Therefore, clinical experts were part of our project from the beginning, not only helping us, the technicians, to select the correct and necessary structures but also playing a key role in their verification. The printed models were provided to the experts for evaluation and comment. In case changes and modifications were suggested to improve the quality of the model, the whole process went back to the beginning to the second stage (processing) and started working on the modifications again.
During the project, it became clear to us that not every model could be verified using the same criteria. The criteria for “accuracy” are based on expectations that were set at the very beginning of the process. For example, if we print a tibia, we can print it to have the weight equivalent to the actual bone. But was that the goal? Perhaps we need to create an Intraosseous infusion trainer where the crucial assessment aspect is not the visibility of every anatomical detail of the bone, but rather the material characteristics when drilled using a 20,000 rpm drill.
Therefore,
the criteria for verification must be based on the purpose and intent of the model being developed.
Silicone models typically go through a more demanding verification cycle than 3D-printed ones. It typically took several iterations to produce a particular model to meet technicians and especially clinical experts’ satisfaction. Only then was the model deployed into the teaching where it was thoroughly verified by the students.
5. Publication and utilization
It is probably easy to imagine that such a work activity can be very interesting and refreshing. However, we must not forget that every model we create must have a clear purpose. Their path was set long before we started producing. And so most of the models, not only in our healthcare simulation centre, go straight into the teaching. It often happens that we have nothing to present ourselves with because all our products are immediately taken for teaching. However, this is the most pleasant gratification of our work.
We have known for a long time that this topic is shared by many of our colleagues from different simulation centres, who follow the same path and create many interesting products for healthcare education using identical steps. We also believe that our results – anatomically accurate 3D models – can be useful in teaching at lower levels of education. Many schools nowadays own 3D printers, often hesitating about what useful things to print. Imagine if they could print a relevant anatomical model for every student.
And that is why part of our project is the development of a web portal for sharing 3D models with anatomical and healthcare simulation topics. By doing so, we are creating a common space where you also can spread your skills outside the walls of your simulation center, your faculty, or your hospital. As an outcome of the project, we have promised at least 70 models to be available on this web portal.
Final thoughts
If you have read this far, do not hesitate, and check out the portal at https://printanatomy.eu.
The described topic and process was recently presented as a workshop at the SESAM Annual Meeting in Prague 2024 and also at the SIMPO 2024. If you are familiar with this topic, feel free to check out the SESAM Technology & Innovation Community of Practice which gathers enthusiasts for innovation and technology.
Certainly, you can also use contacts with me. I will be grateful for any message.
The project was co-funded by the European Union under the Erasmus+ programme.
READ ALSO