

Clinical simulation is often described in terms of manikins, scenarios, crisis resource management, and debriefing. But anyone who has stepped into a high-fidelity simulation room knows that the magic lies in the details—in the small visual cues that make the scenario believable, provoke emotional engagement, and push learners to respond as they would in the real world. This “magic” has a name: moulage, the art and science of creating realistic injuries, wounds, pathologies, and visual cues that bring simulation scenarios to life.
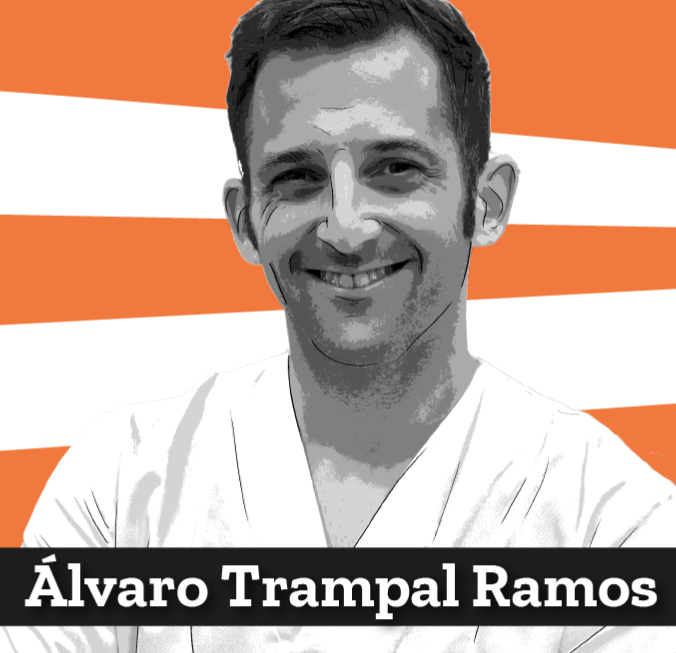
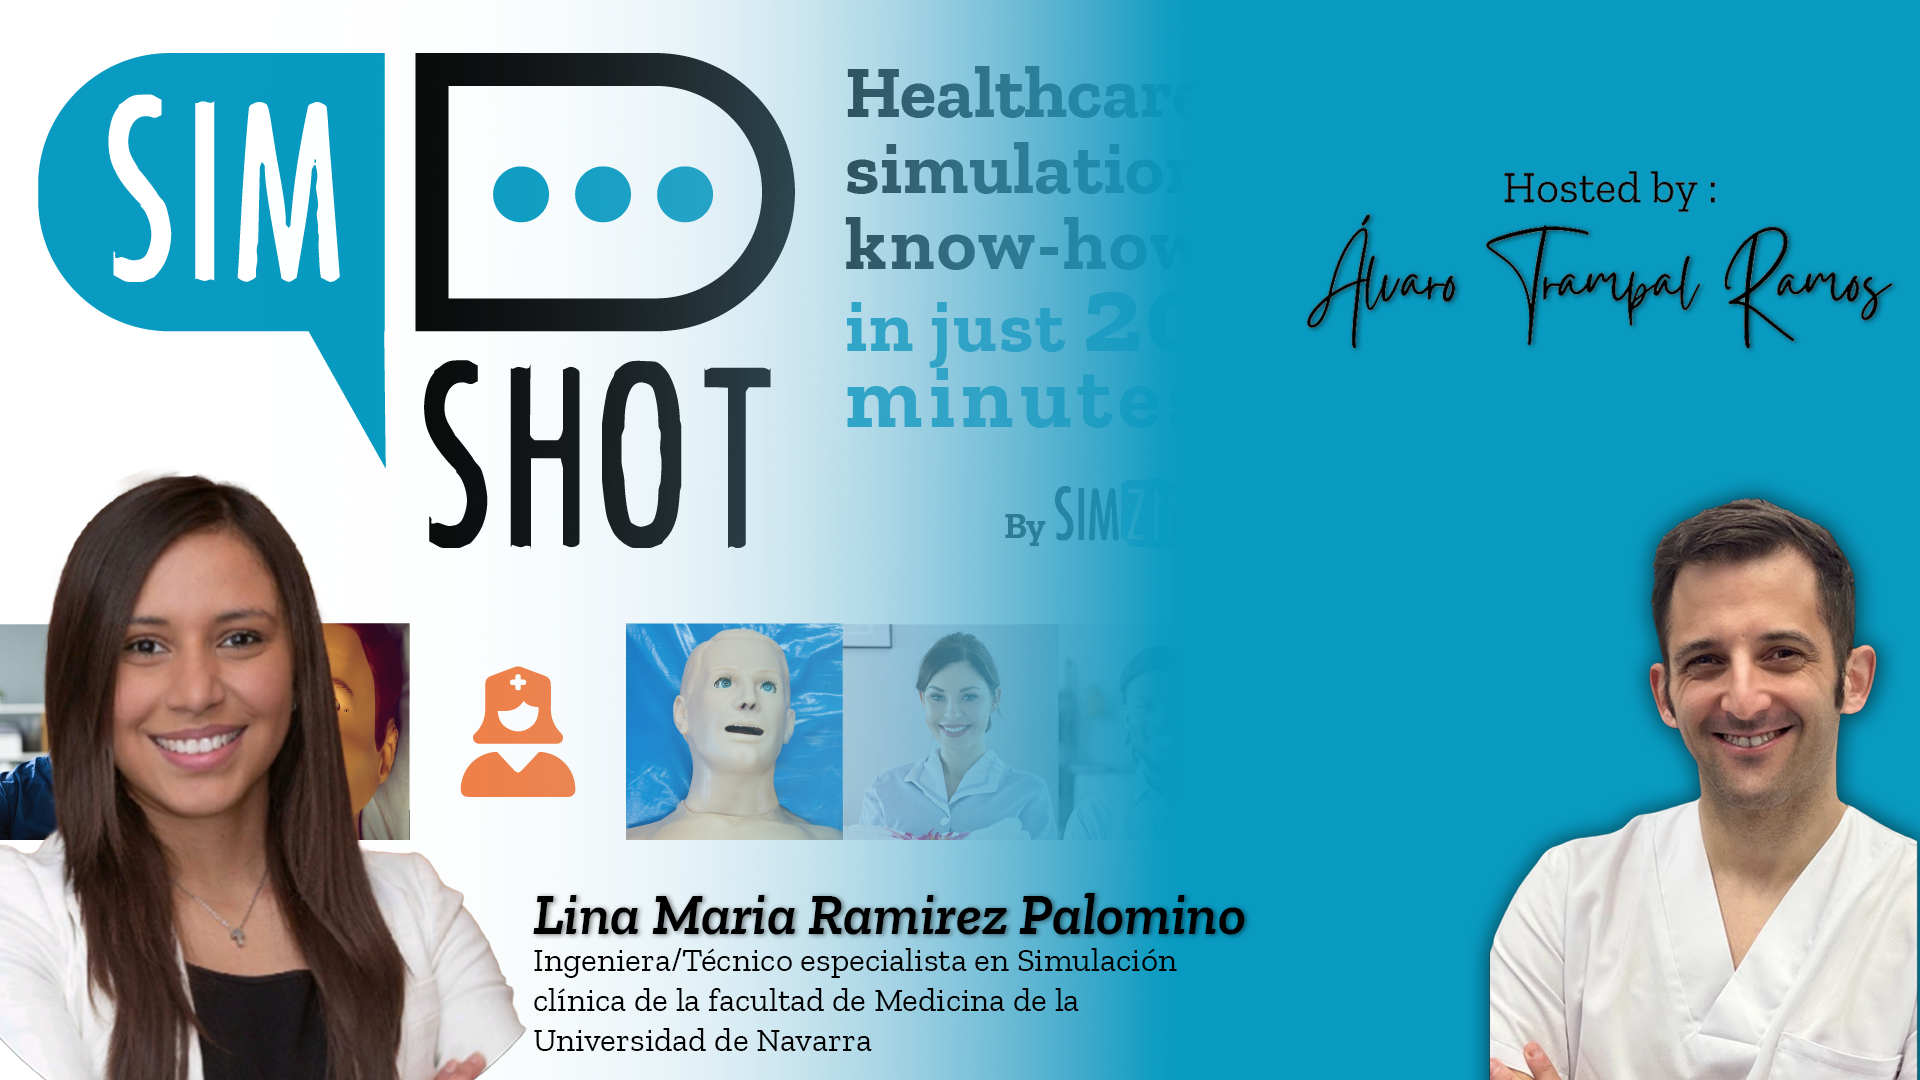
A SIMZINE exclusive based on the SIMShot webinar hosted by Álvaro Trampal Ramos featuring Lina Maria Ramírez Palomino
In a recent episode of SimShot, the rapid-fire webinar series dedicated to practical insights for the simulation community, instructor Álvaro Trampal sat down with Lina Maria Ramírez Palomino, a biomedical engineer and clinical simulation specialist at the University of Navarra. Their conversation offered a fascinating look into the techniques, materials, and creative processes behind moulage—from bruises and burns, to silicone prosthetics and 3D-printed structures.
What emerged was more than a tutorial. It was a celebration of craftsmanship, curiosity, and the behind-the-scenes expertise that elevates simulation from “training” to “immersive experience.”
From Simple to Advanced: A Journey Through Techniques
Lina begins her session with a simple premise: when most people think of clinical simulation, they think of manikins, case scenarios, and debriefing. But moulage is what adds depth. It gives learners context clues, emotional triggers, and diagnostic realism.
Her workshop moves progressively from basic techniques to more advanced applications—always grounded in practicality, affordability, and replicability.
1. Bruises: Understanding Color, Layering, and Healing Stages
Bruises (or hematomas) are among the most common moulage elements. Yet, as Lina explains, doing them well requires understanding how real bruises evolve over time.
- She walks through the four stages:
- Fresh bruises: dominated by intense reds and burgundy tones.
- Intermediate bruises: adding purples and blues for depth.
- Healing phase: reducing the intensity, blending softer reds and violets.
- Late-stage bruises: introducing greens and yellows.
Professional palettes from Kryolan work beautifully, she says—but she also recommends inexpensive versions from AliExpress that perform surprisingly well if used sparingly.
Her message is consistent: great moulage doesn’t require expensive tools—just good technique.
2. Abrasions: Texture, Irritation, and the Power of a Sponge
For abrasions, Lina continues using the same color palettes but emphasizes texture.
A key ingredient?
A stippling sponge lightly dipped in simulated blood.
Gently tapping the sponge creates:
- a raw, irritated look
- scattered “broken skin” patterns
- dried blood crusts (with certain brands)
Her favorite simulated blood—Formax—dries slightly rigid, giving abrasions a realistic crust. And for those wanting a budget option, she reveals a clever trick: hair donuts from Amazon. Their porous texture functions just like a professional sponge.
3. Cuts and Lacerations: Highlights, Depth, and Fine Detailing
Cuts require precision. Lina uses:
- a wide brush to lay down red pigment
- a white eyeliner pencil to simulate raised edges and shine
- a thin brush dipped in blood for the final “fresh wound” effect
The white pencil is the secret sauce—it gives the illusion of swelling and depth without needing prosthetics.
4. Scars and Keloids: Minimal Tools, Maximum Effect
To create scars, Lina draws with soft-pencil shades like rosewood and white, then applies rigid collodion, a classic tool in professional FX makeup.
Collodion contracts the skin slightly, producing:
- raised edges
- subtle indentation
- natural shine
The result? Convincing scars that photograph extremely well—even under harsh simulation lighting.
5. Burns: Building Layers with Latex
Burns are among the most striking moulage elements, and Lina demonstrates a method that is both accessible and impressive.
Steps include:
1. Creating a color base: reds, burgundy, yellows (depending on burn stage)
2. Applying multiple layers of liquid latex
3. Drying each layer with a hair dryer
4. Peeling or lifting sections to simulate blistered or peeled skin
Four layers of latex usually produce a strong, durable texture—ideal for manikins or standardized patients alike.
For burn blisters, she uses a brilliant technique: injecting ultrasound gel beneath the latex using a soft abbocath catheter, creating perfectly rounded, translucent blisters that behave like the real thing.
The results are visually impactful and anatomically convincing.
6. Open Wounds: Sculpting with Simulated Flesh
When moving into more advanced territory, Lina introduces “simulated flesh”—a malleable material heated by hand and shaped directly on the skin or manikin.
Her key tips:
- Warm it to soften it
- Spread it evenly
- Blend the edges with petroleum jelly
- Add thick blood inside the wound
- Finish with lighter blood tones externally
She shows examples of finger lacerations and interdigital wounds that look shockingly real—particularly after careful blending and layering.
7. Glass-Embedded Wounds: Safety First
Although glass fragments can be simulated with thin sheets of acrylic (metacrylate) broken into shards, Lina stresses safety: always place shards on top of simulated flesh—not directly on skin.
This prevents accidental cuts while preserving the visual drama of embedded glass injuries.
8. Silicones and Ecoflex: The Gateway to Pro-Level Moulage
Silicone prosthetics elevate moulage to another level entirely.
Lina’s lab uses the Smooth-On Ecoflex series, including 00-20, 00-30, and 00-35 Fast.
She breaks down the qualities:
- 00-20 Fast: ultra-soft, cures in one hour
- 00-30: medium elasticity, ideal for large skin pieces
- 00-35 Fast: cures in five minutes—her favorite for rapid prototyping
Silicone offers superior realism, durability, and biomechanics. She demonstrates how pigments (also from Formax) mix easily into liquid silicone, allowing the creation of:
- wounds
- organs
- bulges and masses
- anatomical details
She even showcases a silicone “feces” moulage created with tinted Ecoflex 00-35—a creative example of resourcefulness in simulation teaching.
9. 3D Printing + Silicone: The Future of Custom Moulage
Perhaps the most fascinating part of the session is Lina’s integration of 3D printing with silicone casting.
One standout project:
A hyper-realistic umbilical cord model made by designing a hollow 3D-printed structure, inserting small rods for arteries and veins, and filling them with colored silicone.
The result? A flexible, lifelike, anatomically accurate model.
The same approach is used to fabricate:
- polyp models
- intubation complications
- venous distension models
- custom wounds for manikins
3D printing expands the creative possibilities exponentially, making it possible to produce high-fidelity components quickly and affordably.
10. Repairing Manikins: Giving Old Simulators New Life
Simulation centers often face the challenge of aging equipment. Lina demonstrates how specialized silicone adhesives and elastic mesh can restore damaged manikin parts—reinforcing tears and cracks so they remain usable for years.
It’s a simple, cost-effective solution that many centers overlook.
11. Fast Ultrasound Models: Creativity Under Pressure
When time is short, Lina turns to paraffin gel, which melts easily and can be molded into ultrasound-compatible structures. By embedding tubes and filling them with fluid, she creates fast, functional training models for venipuncture or point-of-care ultrasound.
This “emergency moulage” solution is perfect for centers needing quick, low-cost alternatives.
A Path for Beginners: Lina’s Advice
Álvaro closes the session by asking the question many newcomers have:
How does someone with no artistic background begin learning moulage?
Lina smiles and answers honestly: She, too, started from zero.
Her advice:
- Begin with basic techniques (bruises, cuts, simple wounds)
- Learn from colleagues
- Practice in downtime—especially during quiet summer weeks
- Experiment with inexpensive materials
- Watch YouTube tutorials and follow moulage communities
- Start building your own kits and molds
- Most importantly: enjoy the creative process
She is even developing a basic moulage course for technicians, now sought after by participants in Latin America.
Conclusion: Where Creativity Meets Clinical Training
This episode of SimShot reveals something fundamental: moulage is not merely decoration—it is pedagogy.
It sharpens clinical observation, increases emotional immersion, and pushes learners to respond authentically in complex situations.
Through her accessible explanations and passion for creativity, Lina Maria Ramírez Palomino reminds us that simulation is both a science and an art. And in the hands of skilled technicians, that art becomes a powerful educational tool.
READ ALSO