

This step-by-step guide walks you through how to create custom moulage tattoos for healthcare simulation. Using simple materials and digital tools, you can quickly produce realistic, reusable wounds that enhance learner immersion and save time during scenario setup, ideal for simulation educators and technologists
Exclusive partnership with
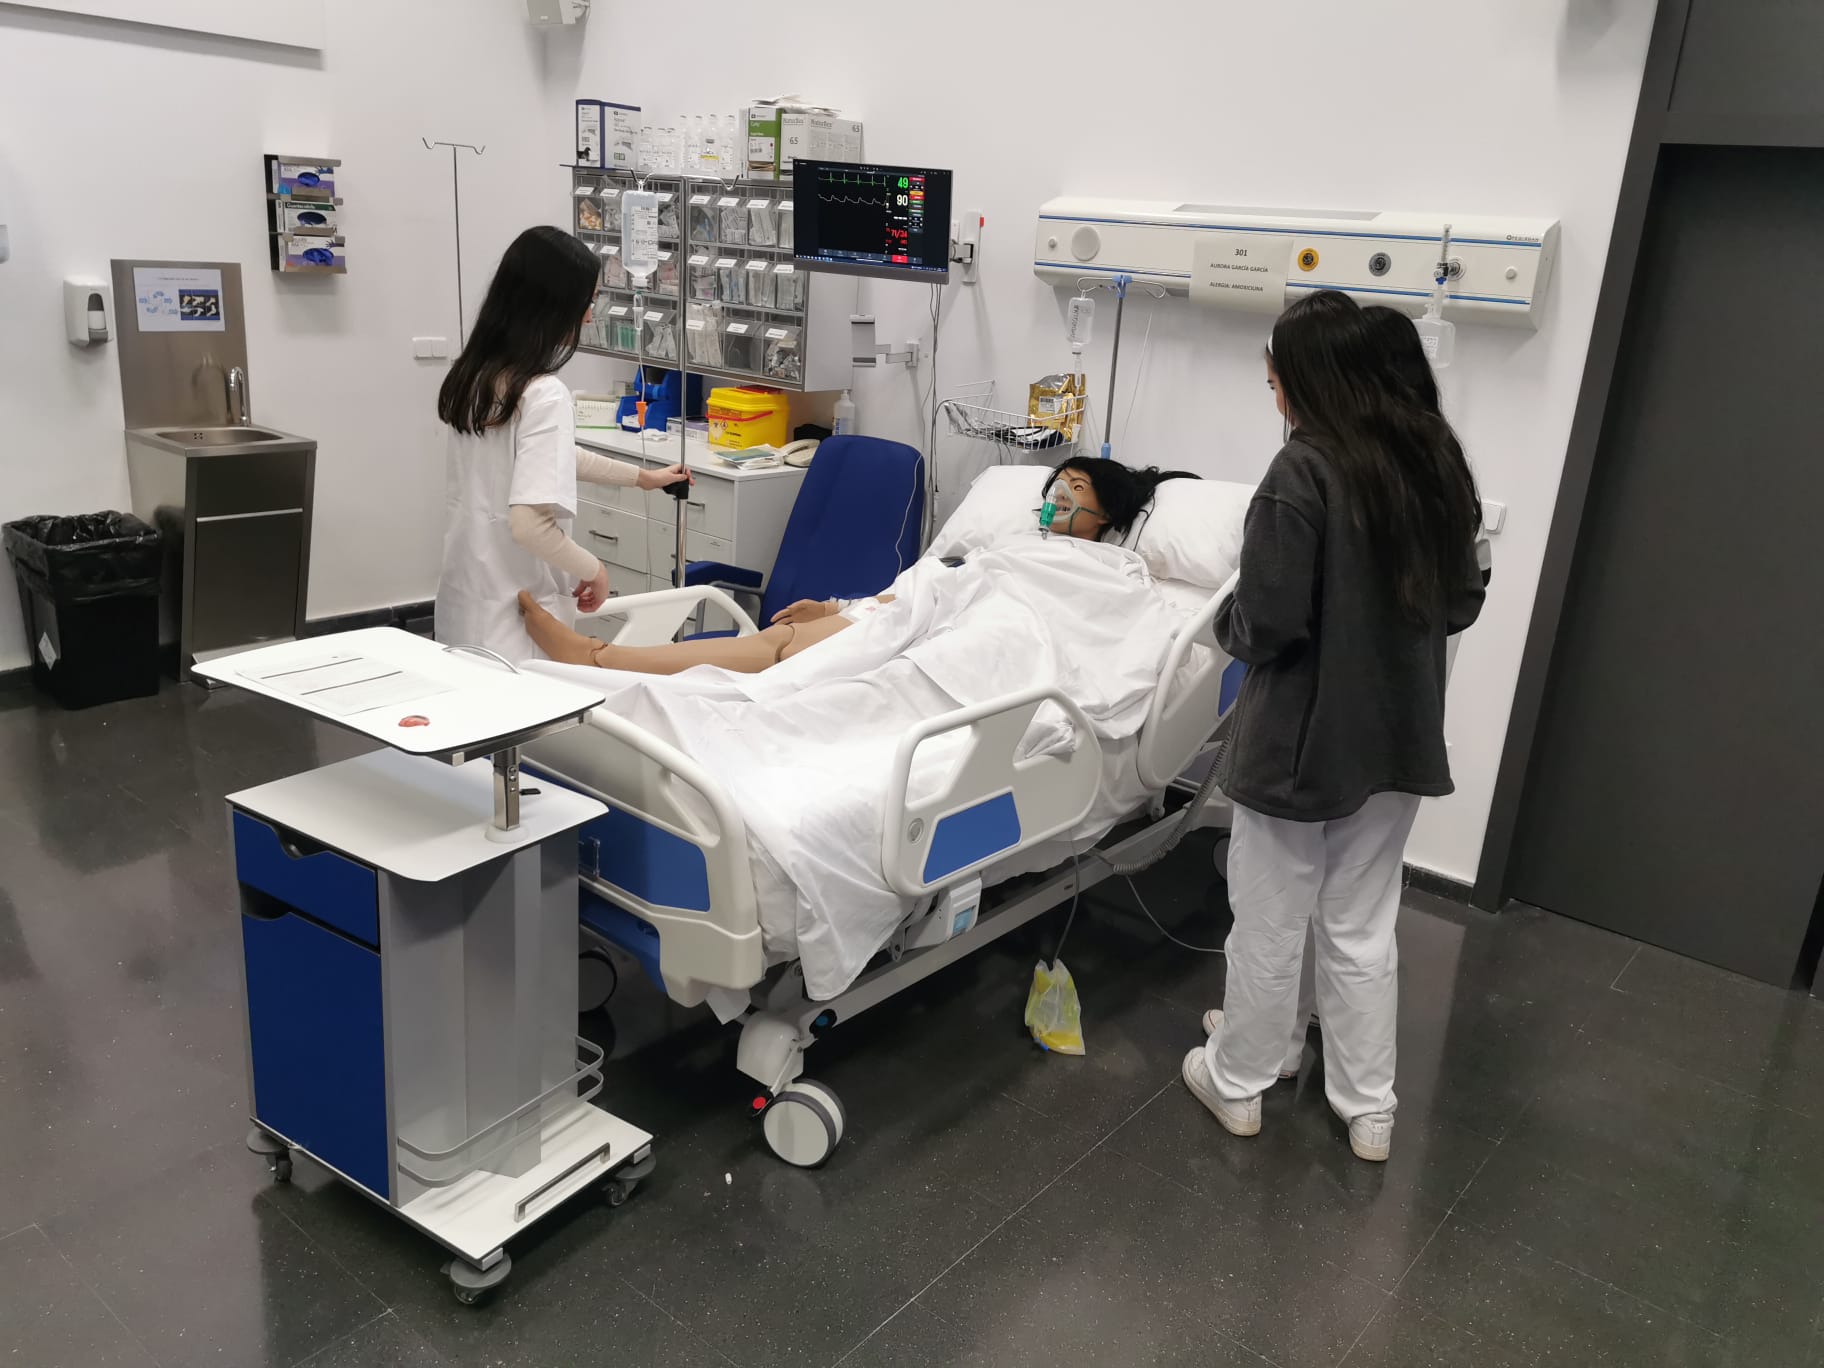
In healthcare simulation, delivering an immersive and realistic experience is essential for effective learning. One of the key ways to achieve this is by providing learners with as many visual and audible cues as possible. These sensory inputs help simulate real-world scenarios, reducing the need for learners to overly rely on their imagination. When participants can focus less on mentally creating the scenario and more on interacting with it, they are better able to suspend disbelief and become fully engaged in the learning experience.
Immersion plays a vital role in activating procedural memory, which is critical for healthcare professionals in training. By minimizing the mental effort required to visualize injuries, wounds, or other medical conditions, learners can direct more cognitive resources toward practicing and refining their skills. This can lead to a deeper understanding of the procedures, enhancing both learning outcomes and retention.
However, the challenge often lies in creating realistic, durable, and safe visual effects that can be applied to patient simulators. Under the pressure of time and resources, putting together something that looks convincing while remaining safe for repeated use on expensive simulators can feel overwhelming. This is especially true when aiming for consistency in appearance, skin tone compatibility, and ease of application.
To address these challenges, this article provides a step-by-step guide to creating moulage tattoos. Moulage tattoos offer a peel-and-stick solution that allows simulation operators to quickly and easily apply lifelike injuries, scars, and other medical conditions to patient simulators. These tattoos are designed to match the skin tones of simulators, ensuring that the visual cues remain consistent and realistic throughout the training session. The peel-and-stick method is not only fast but also highly reproducible, allowing for the same injury or wound pattern to be applied across multiple simulations without variation.
Moulage tattoos save valuable time in preparation, reduce the stress of trying to create perfect visual effects manually, and maintain the integrity of the patient simulators by offering a safe and durable alternative. This innovative method allows educators to focus more on the learning objectives and less on the logistics of moulage application, ensuring that simulations remain both high-quality and time-efficient.
Incorporating moulage tattoos into healthcare simulations enhances the learning environment, making it easier for learners to immerse themselves in the scenarios and concentrate on the hands-on experience. By providing a reliable and easy-to-use tool for creating realistic injuries, these tattoos contribute to a more effective and engaging training experience for future healthcare professionals.

Step 1: Prepare Your Workspace
Start by setting up a clean, open area where you can work without distractions. Lay out all your materials before you begin.
Step 2: Find the Right Image
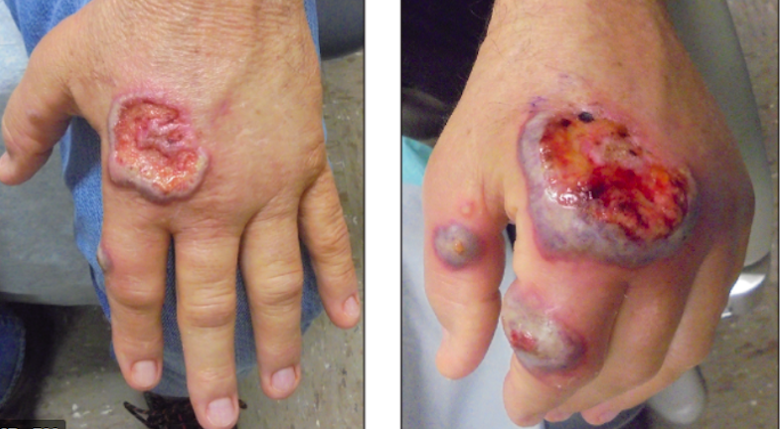
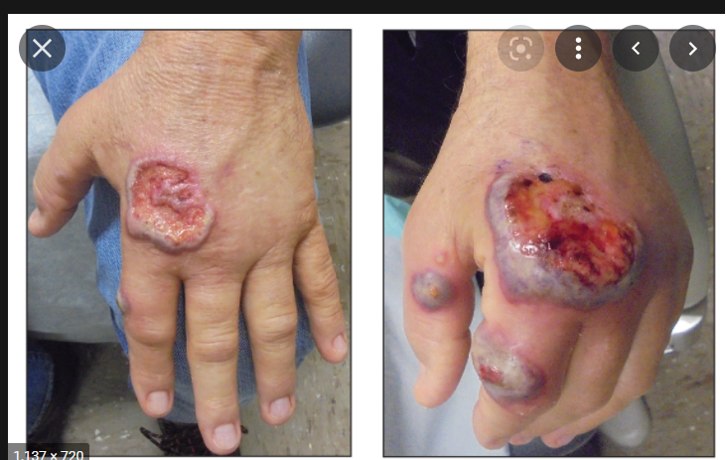
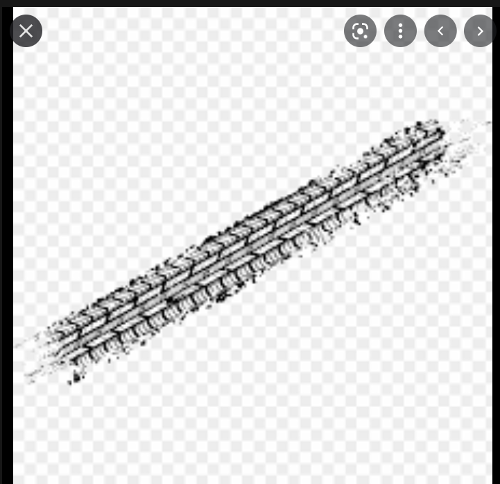
After gathering the necessary supplies and setting up the area, access the internet to find an image that aligns with the curriculum objectives. For example, images of an ulcerative hand wound and a tire tread will be used in this demonstration.
To find images suitable for this process, it’s important to use filtering tools to refine the search results. Google Images allows users to search specifically for images with transparent backgrounds, which can be helpful for this task. However, simply typing “transparent background” in the search bar won’t always guarantee the desired result. Follow the steps below to improve the likelihood of finding appropriate images.
The following section includes screenshots demonstrating Google Images’ filtering capabilities. By default, Google Images displays search results without any filters applied. After performing your initial search, click on the ‘Tools’ option located under the search bar, toward the right side of the screen. From there, you can apply the necessary filters to find images with transparent backgrounds.

Once you have selected the ‘Tools” box, an additional toolbar (see screenshot below) will appear underneath with various options to help you filter the images according to your needs. This newly acquired toolbar is where you will need to make specifications.

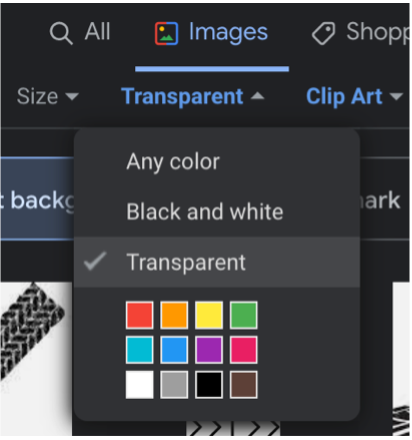
You may filter images based on size, color, type, time, and usage rights. For this purpose, only the color option will be demonstrated. By selecting the ‘color’ dropdown menu, you will be prompted to specify the colors by which the images will be filtered (see screenshot below). Select the ‘Transparent’ option and ensure that the check mark is visible to the left.
A checkered pattern will appear behind the subjects of the images, indicating transparency. As previously mentioned, it is important to apply the ‘transparent background’ filter to the search instead of simply typing “transparent background” into the search bar.
Failing to do so will increase the likelihood of pseudo-transparent images being included in your search. You may unintentionally mistake an image with a checkered background (non-transparent) as an image with a transparent background indicated by a checkered pattern. This is confusing, but quite important.
Step 3: Edit and Save Your Image
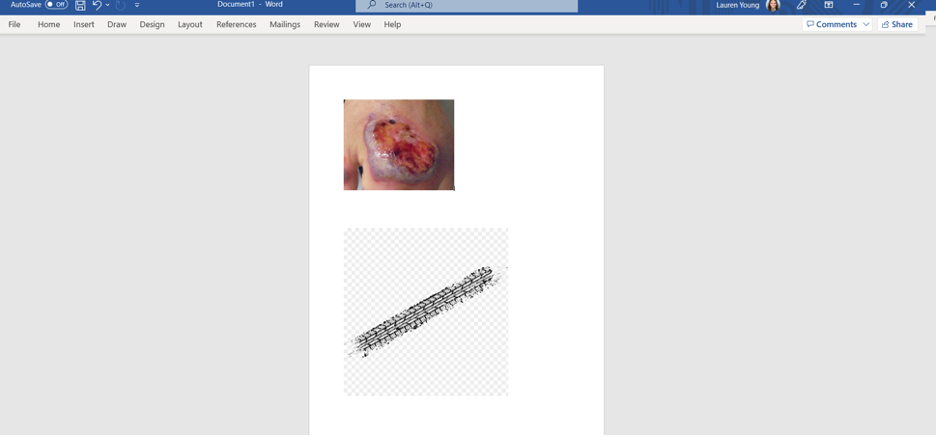
Paste the selected images into a Word document where you can resize, transpose, edit, and crop the images to your liking. This is also a great opportunity to save these images for future use, should you need to replicate your work. You will notice that I have significantly cropped the previously shown image down to just the wound. I can print both images on the same page now. This will save ink and paper.
Step 4: Print Your Tattoo
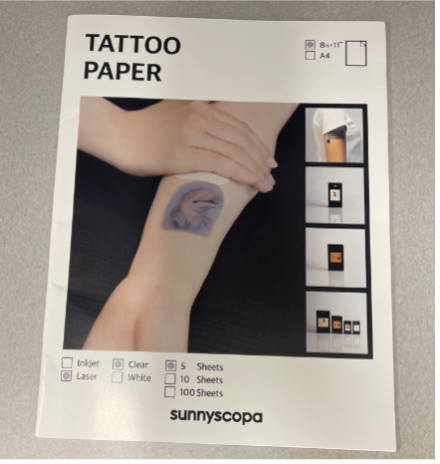
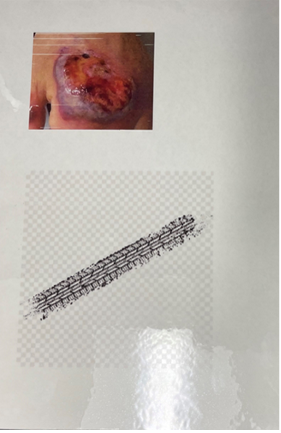
At this point, the images are ready to be printed onto the tattoo paper. It is important to carefully follow the instructions provided with the selected tattoo paper. For the paper used in this demonstration, the instructions suggest using the bypass tray and placing the glossy side of the tattoo paper facing up. However, through trial and error, it was found that printing from Tray 1, while still placing the glossy side up, yielded better results than the bypass tray. Keep in mind that this may vary depending on the printer model. Below is an example of the images printed onto the tattoo paper.
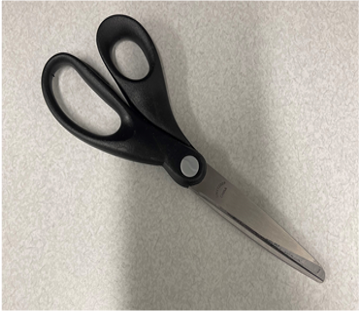
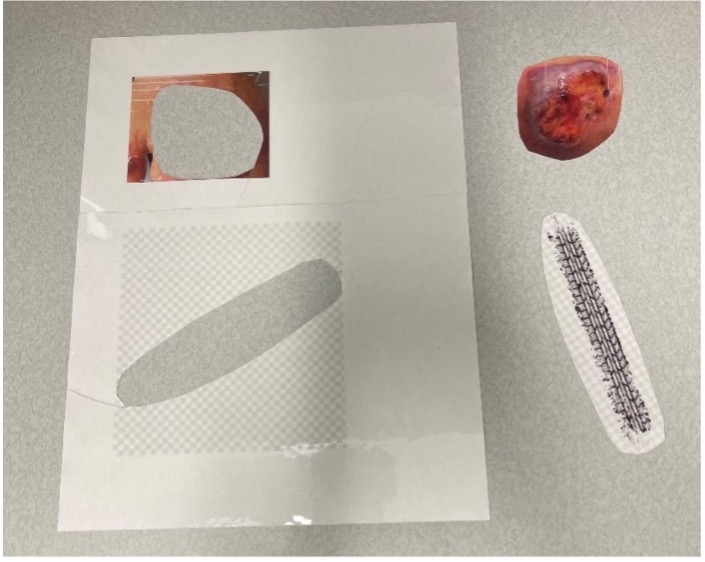
Step 5: Cut the Tattoo
Use scissors to carefully trim around the wound image. Make sure the size fits well within the Tegaderm you’re using.

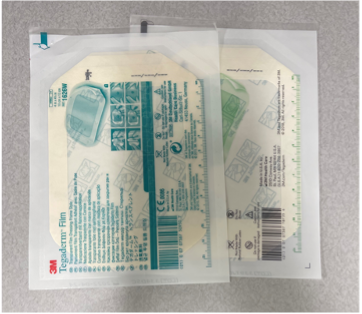
Step 6: Prepare Your Tegaderm Layers
You will need two Tegaderms of the same size per one tattoo.
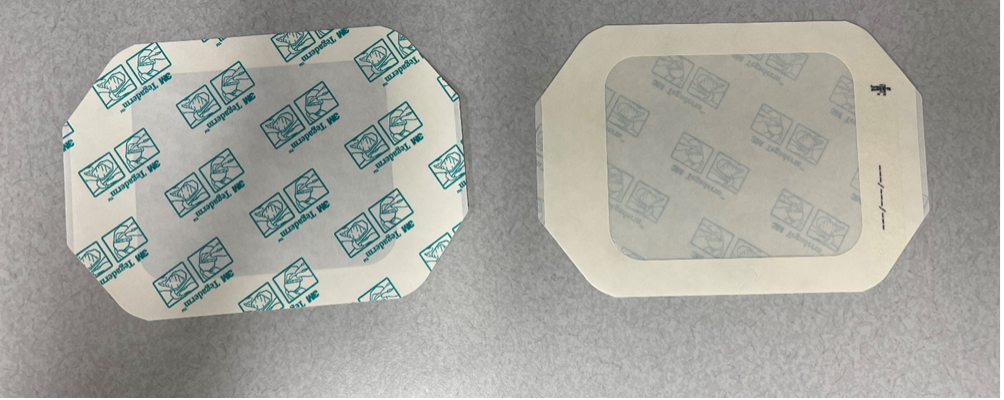
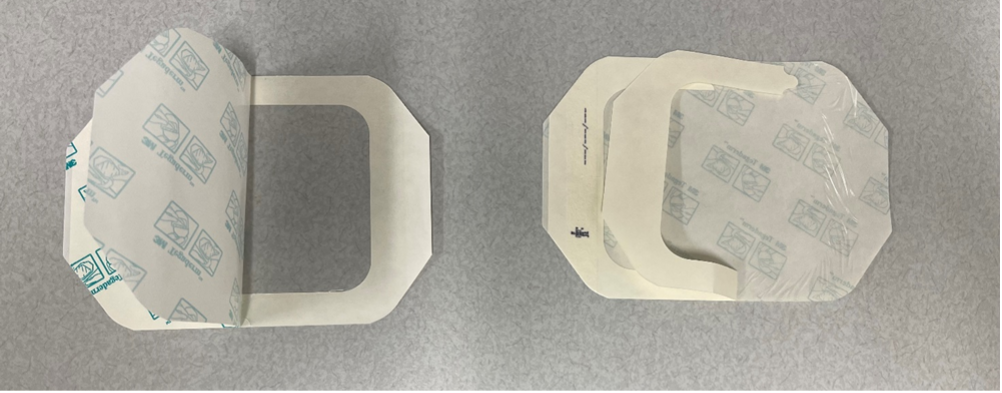
You will want to peel the back of the first Tegaderm off as shown on the left side of the image below. For the second Tegaderm you will want to peel the front side of the Tegaderm off, shown in the bottom right side of the image below.
Make sure you have cut your image to the appropriate size to fit within your Tegaderm.
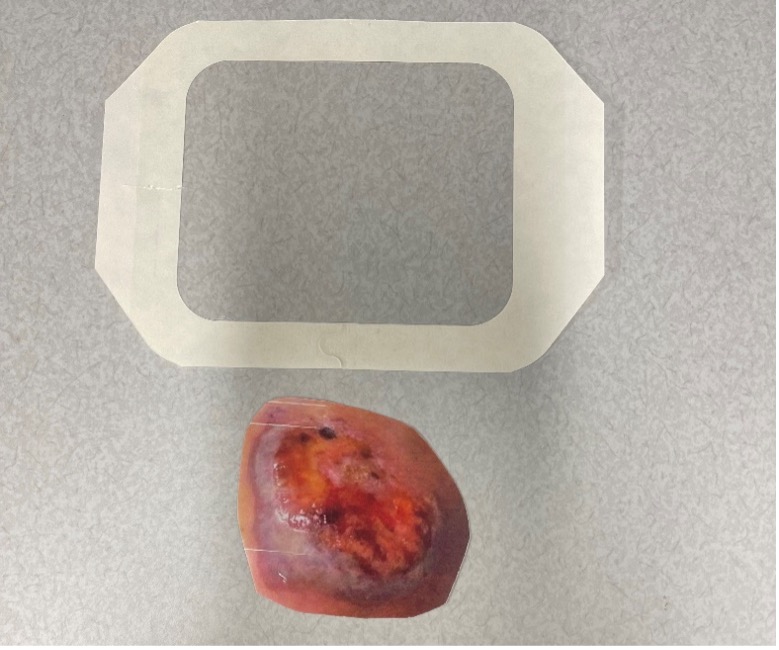
Step 7: Apply the Tattoo to the First Tegaderm
Place your image facedown onto the sticky portion of your Tegaderm.
Step 8: Transfer the Tattoo
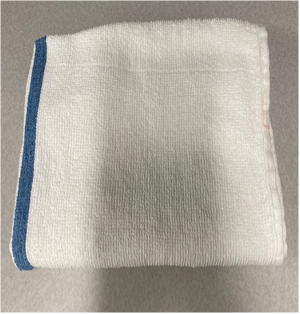
Take a damp washcloth and saturate the back of the tattoo paper. You will want the tattoo paper to be visibly saturated.
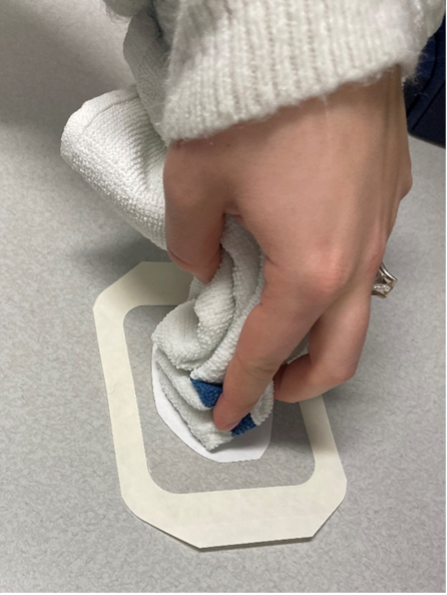
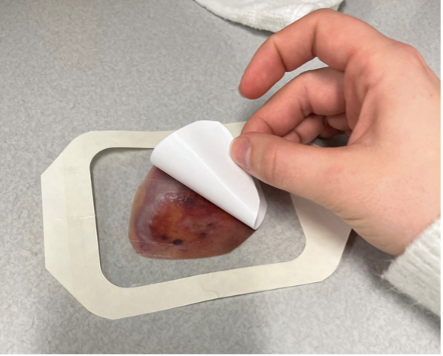
Once you have test-lifted your tattoo paper and determined that you have sufficiently saturated the paper that it will safely separate from the Tegaderm, go ahead and peel away the tattoo paper carefully.

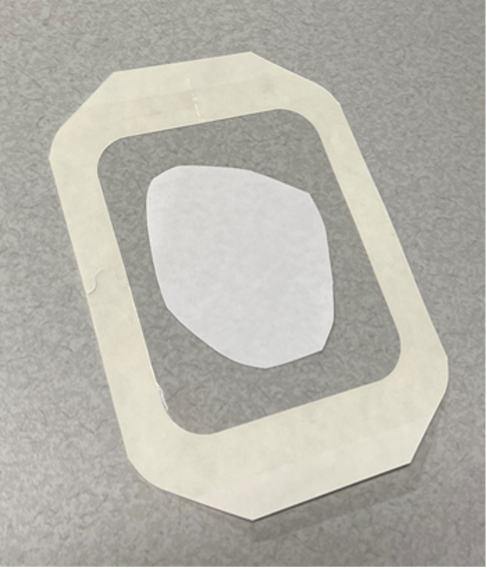
Step 9: Seal the Tattoo
Now you will take your Tegaderm 2 and place It on top of your Tegaderm 1 you have prepared per previous steps.
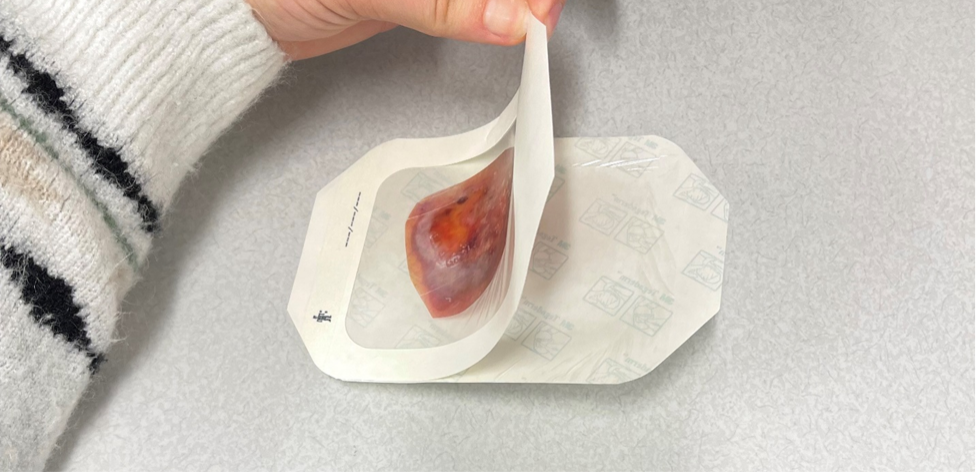
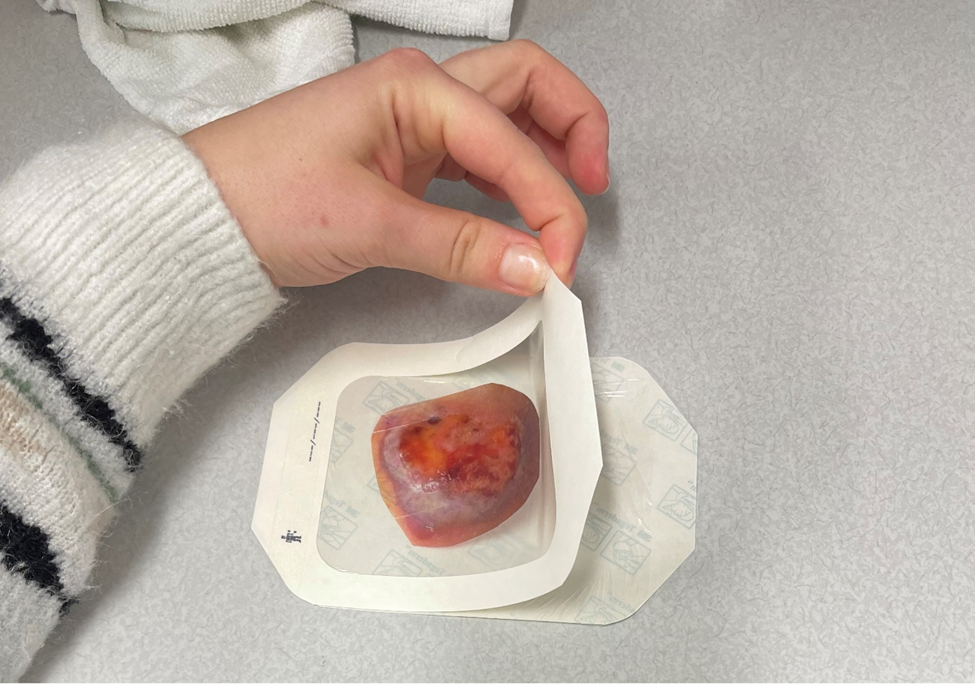
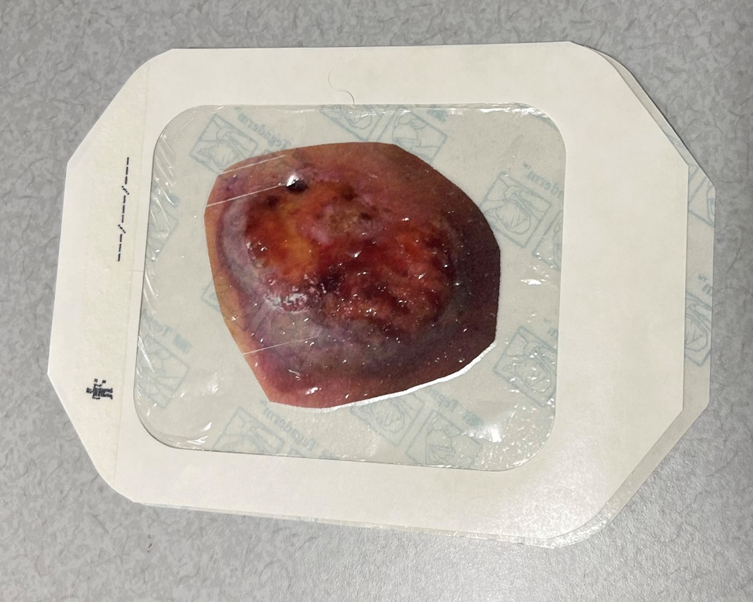
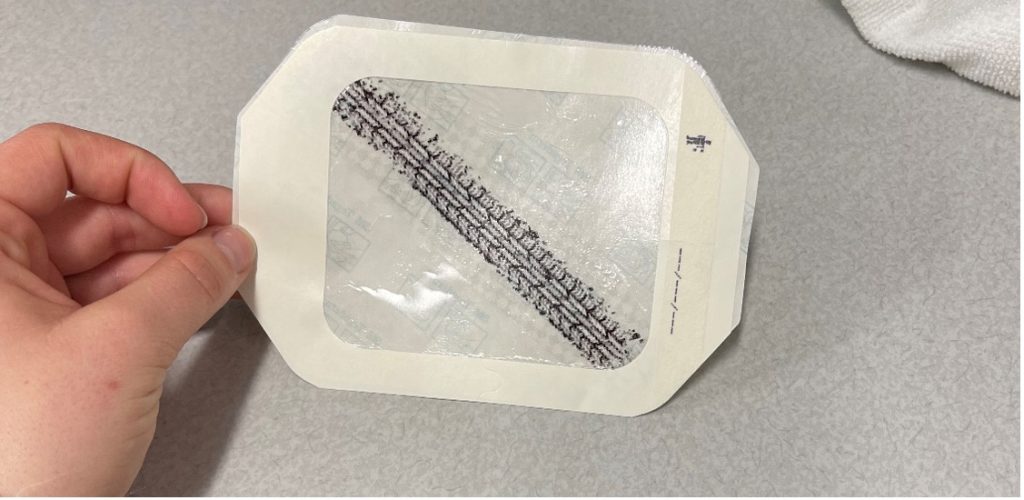
Once you have made the transfer, you should see results similar to that of the pictures below. The tattooed image should now be sandwiched between the two Tegaderms, one of which the sticky side is still unpeeled.
Your Tattoo Is Ready!
You now have a realistic moulage tattoo that’s easy to apply and reuse across simulations. Just peel and stick onto your simulator when you’re ready to run your scenario.
READ ALSO